So for the first time I actually took step by step photos for painting these minis and thought I'd put them all together in a guide.
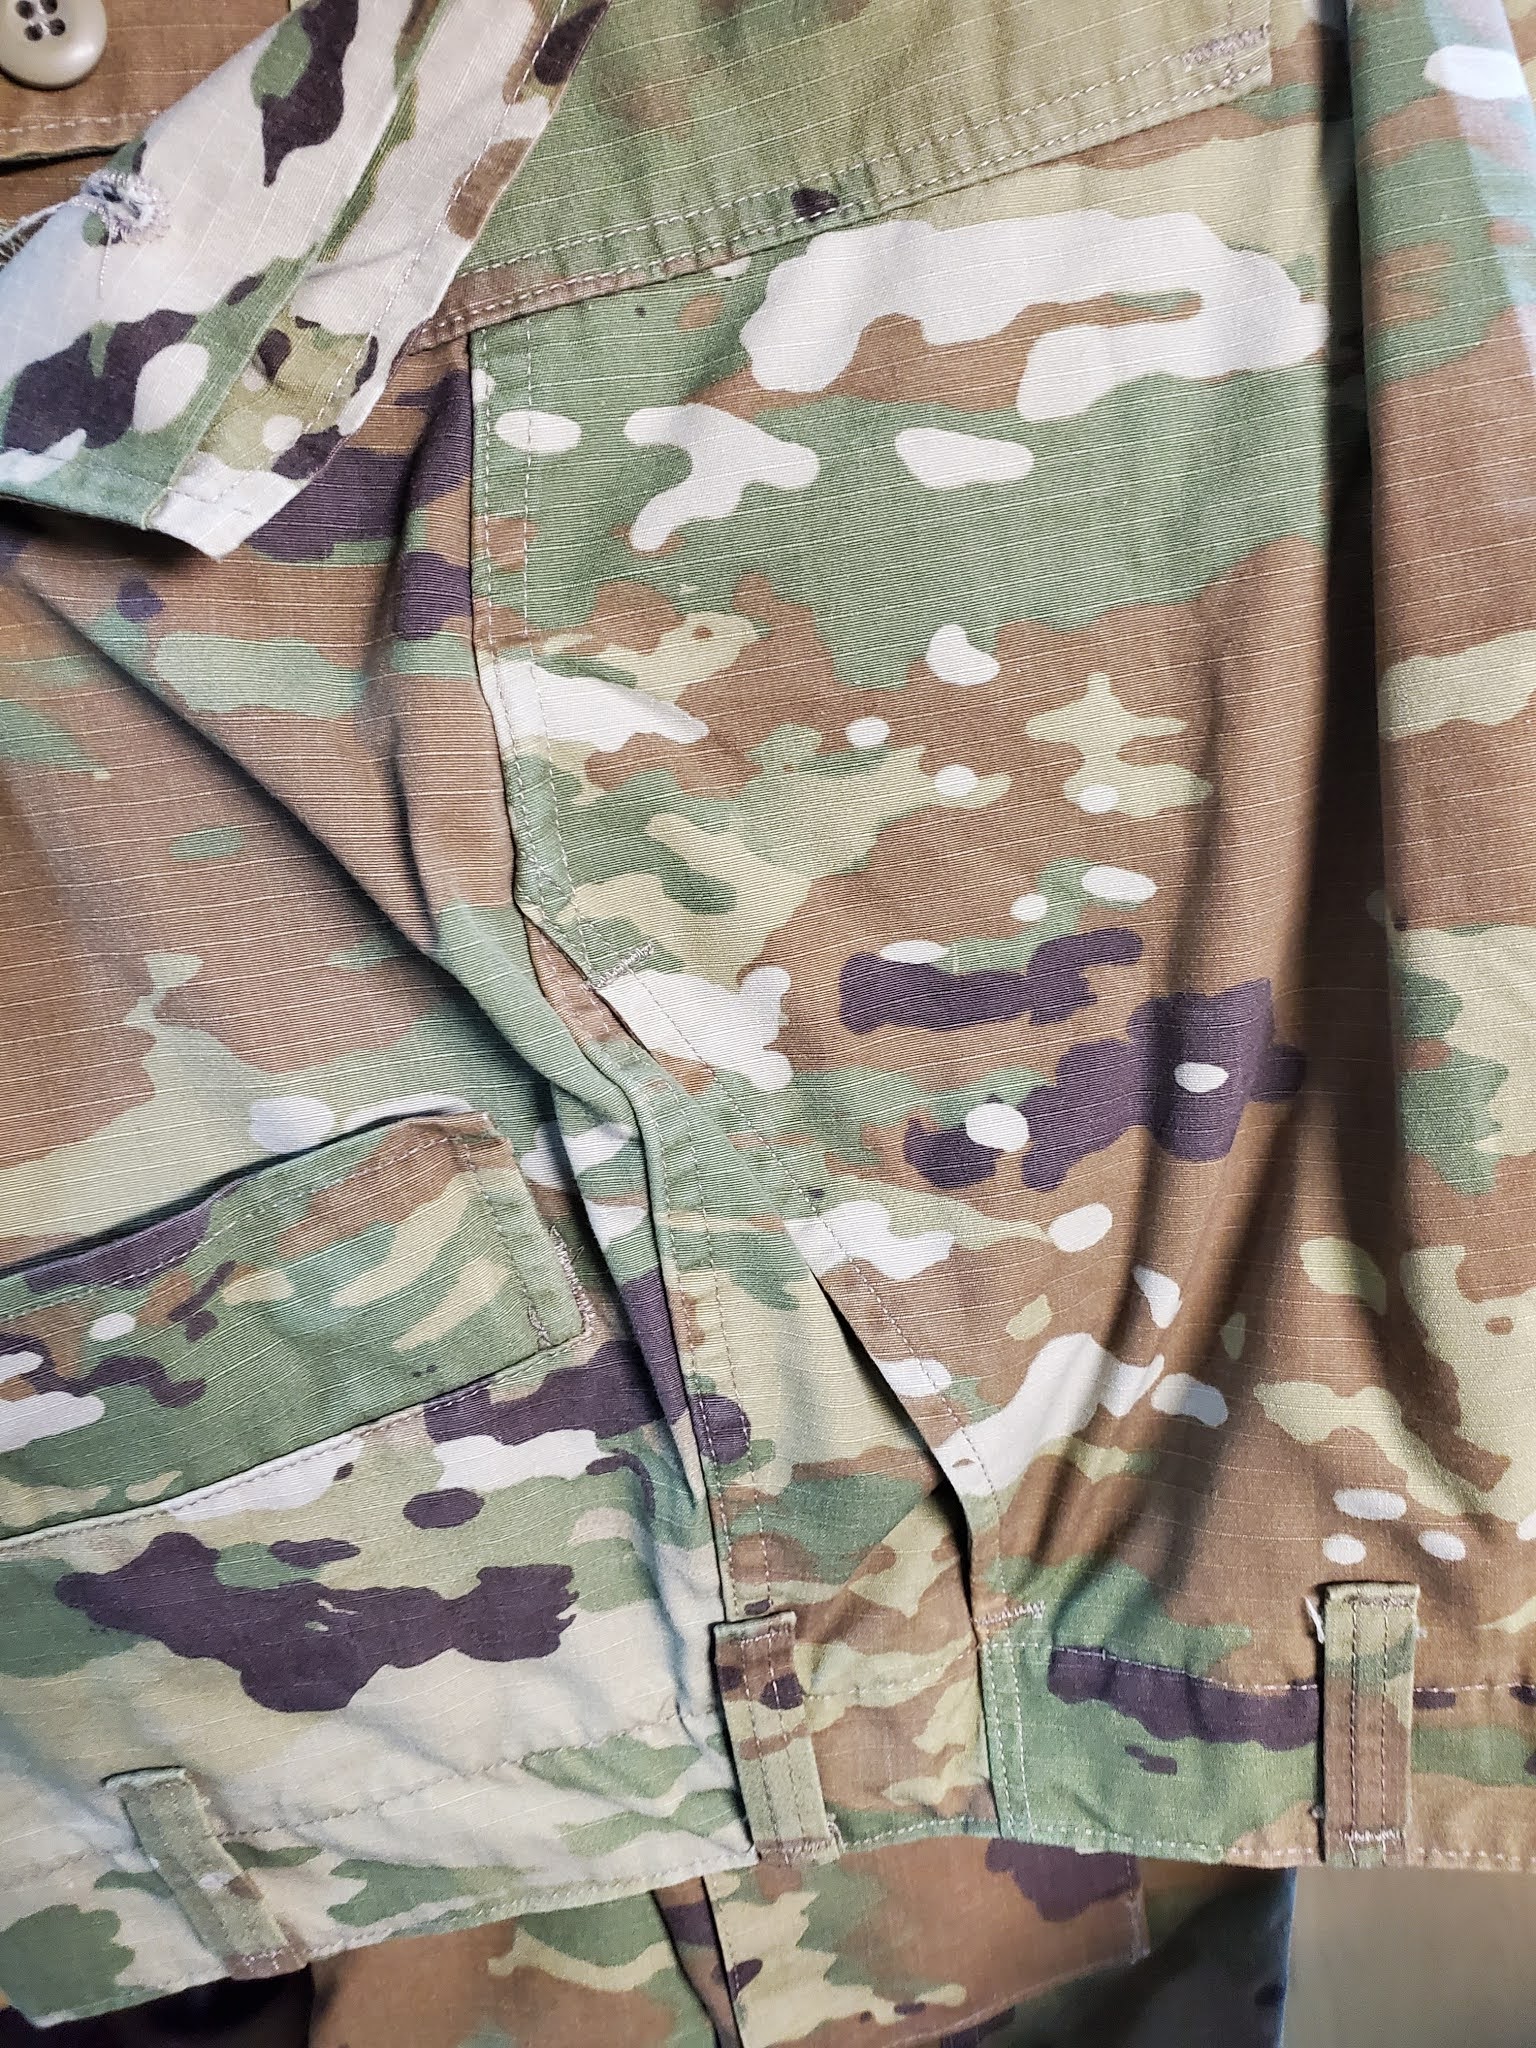
Backstory: Earlier this year, nearly my entire 20mm modern collection of painted minis was stolen. Fortunately, with the generosity of 3 companies and 2 individuals, I have been able to assemble a larger collection of Modern Middles East miniatures then I had before. So to start on the painting I chose the Modern US infantry that Elhiem Miniatures sent me. Doing a batch of 17 first and using my own uniforms and kit as reference.

These are the Modern US sent to me from Elhiem.


Since I am deployed I could not bring any spray paints so I used a brush on primer to start.

Next I painted all the skin tones. I made an effort this time to do a better job capturing the diversity in the armed forces. My old collection had all been the same flesh tone out of laziness.

First Camo layer applied to all the clothing and kit, except weapons and skin.


Next the brown, making sure to overlap some of the beige.


Then a darker green.


Finally a black. I didn't want a mat black as that's too dark so chose something a tad lighter.


Next was the kit like gloves, knee pads, goggle covers, ect...


Used mat black for the weapons and highlighted with a grey.


Painting is done so just applied a wash to the whole mini.


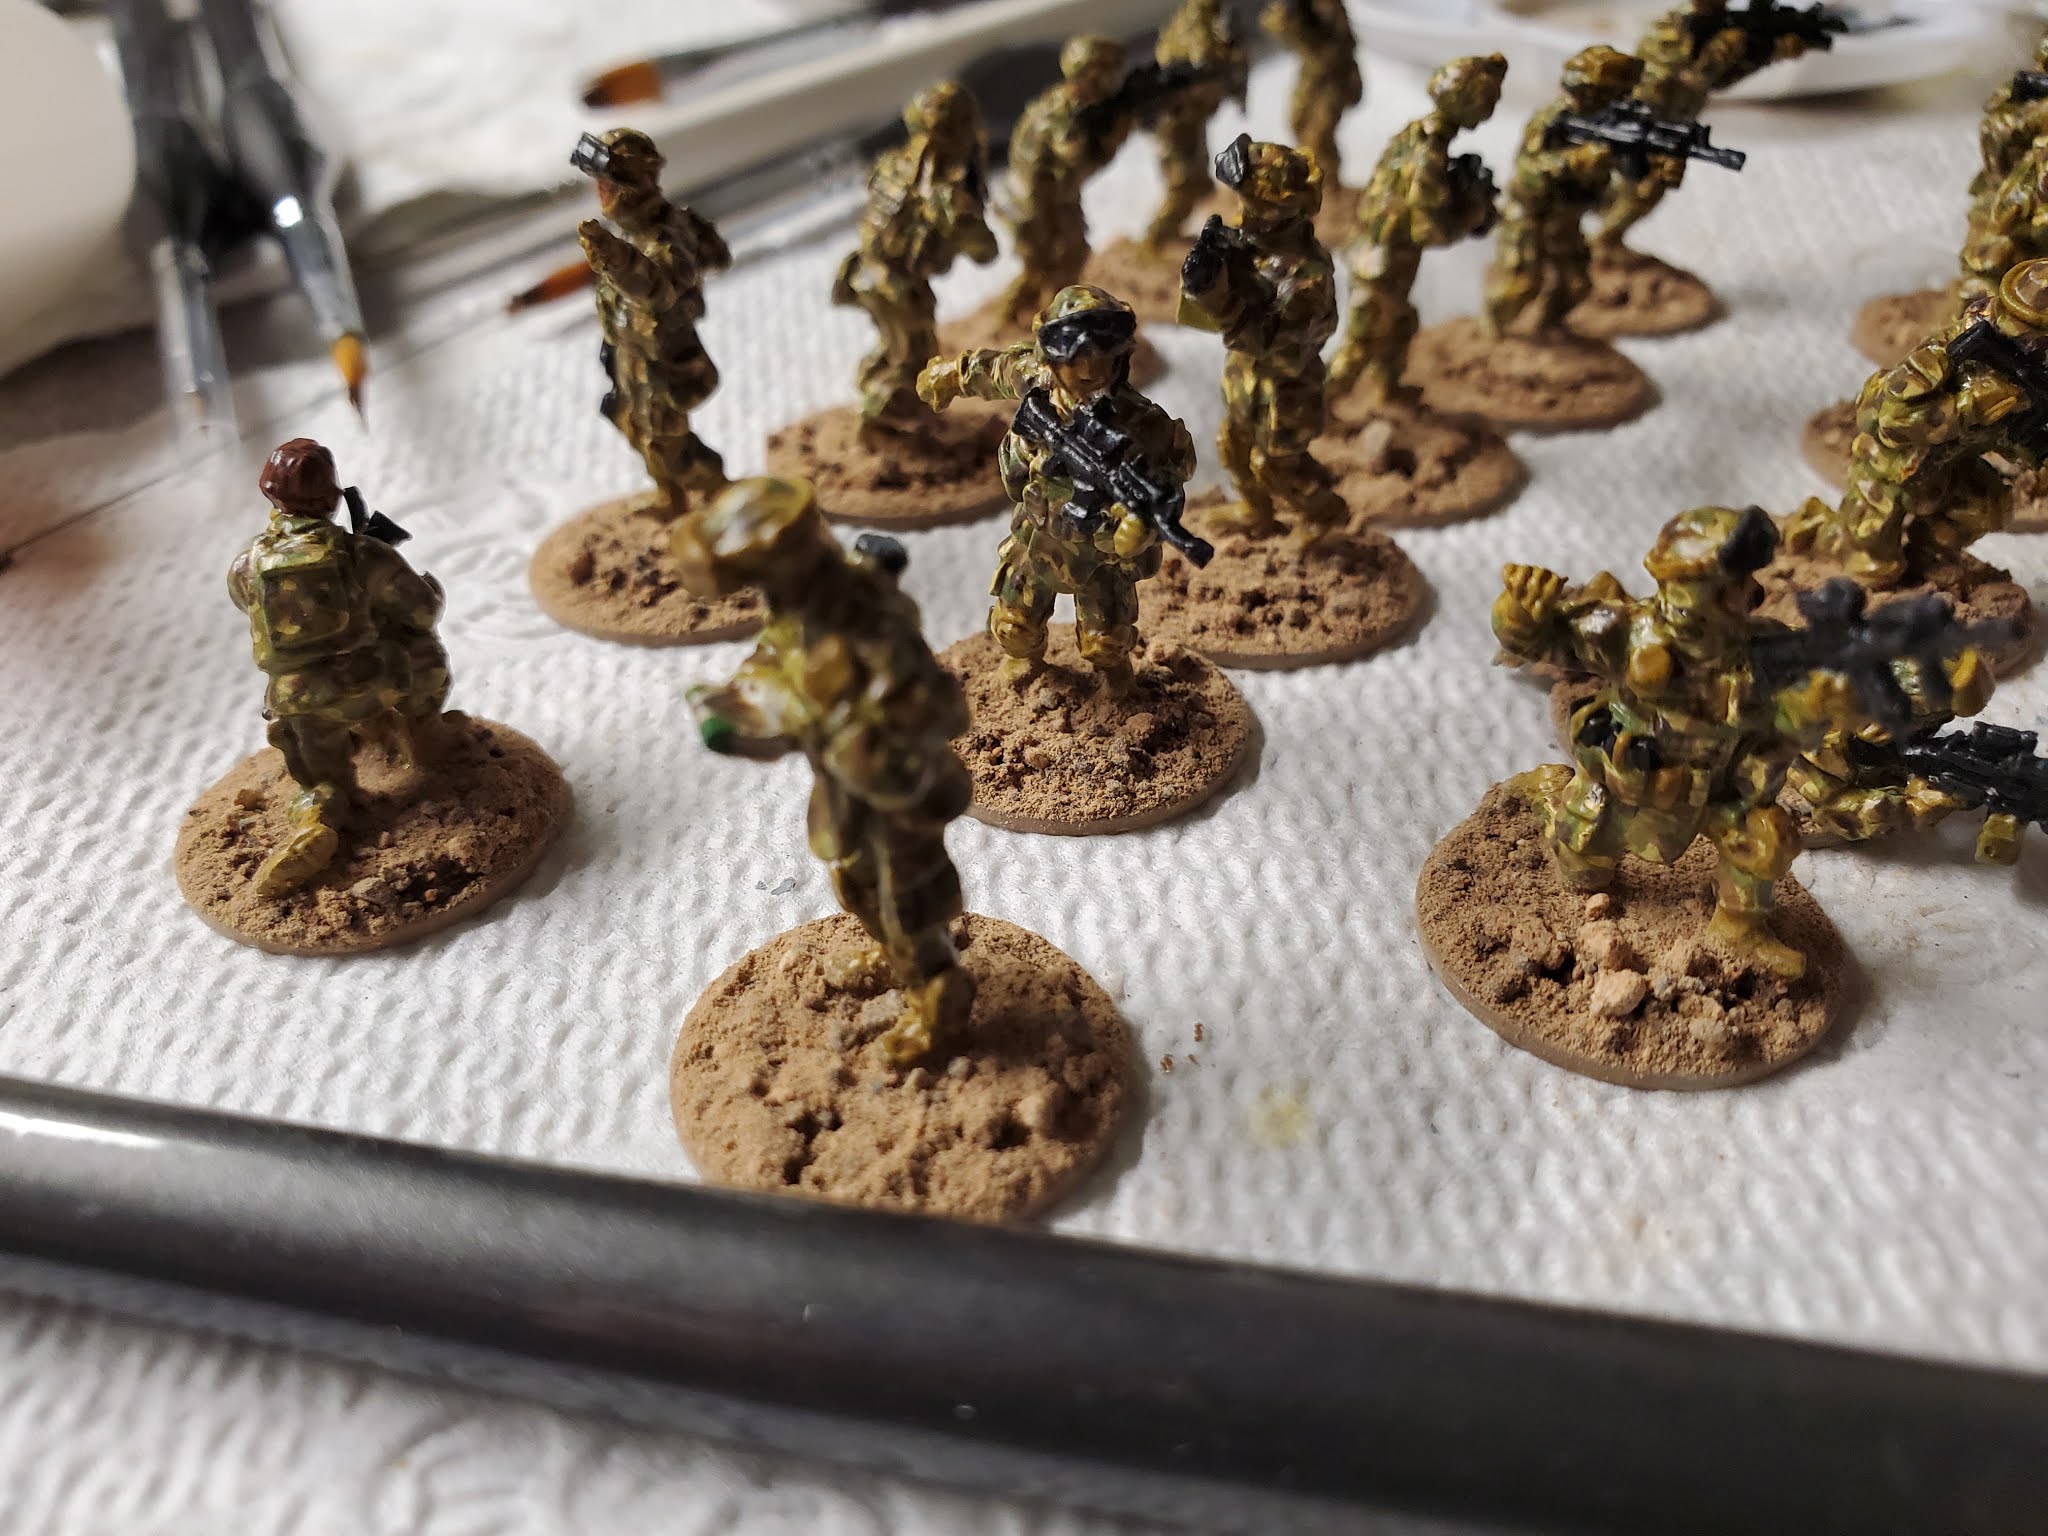


Here they are the first batch done.


1 comment:
Bravo, threat is a great step by step mate, bookmarked for when I get around to painting mine.
Cheers
Matt
Post a Comment